How to stop an instance in AWS; How to delete an AWS cluster

Hi guys!

Today's post is on how to delete an AWS cluster.

If you are brand new to Amazon Web Services, here is some quick vocabulary for you:

instance (database)
cluster
snapshot


Let's jump right in.

Part 1 - How to Stop an Instance or Cluster in AWS:


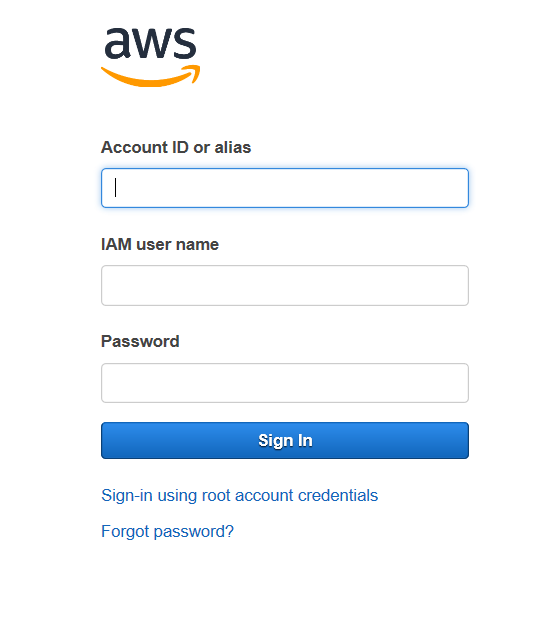
  1. Sign on to the AWS console.
    aws console login
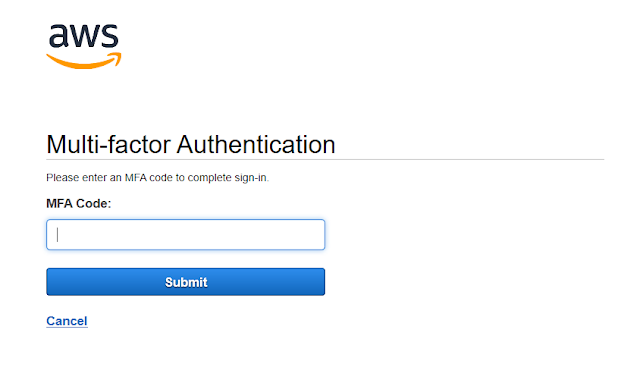
  2. Enter your MFA (multi-factor authentication code)aws multi-factor authentication
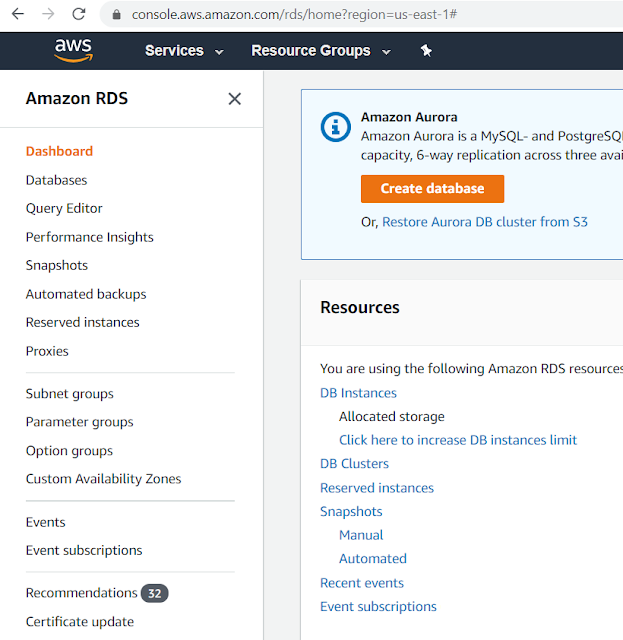
  3. Under "RDS Services", choose databases.
    Amazon RDS
  4. Search for your database or cluster nameAmazon RDS databases

  5. Select the radial button to the left of the instance or cluster name you would like to stop.Stop AWS RDS database

    Note: In this example, stopping the instance is the same as stopping the entire cluster because there is only 1 instance in this cluster. If this cluster had more than 1 instance, you would need to stop all of the instances for the entire cluster to be stopped. Otherwise, the cluster would still be operational.

Part 2 - How to Delete an Instance or Cluster in AWS:

If we are picking up from the last step of Part 1 where we would like to now delete the same instance or cluster we just stopped, this is what would happen.
  1. Select the radial button to the left of the instance or cluster name you would like to delete.delete AWS RDS database
  2. You will receive a prompt stating that your cluster must be started before you are able to delete the database (instance). Hit Cancel.
    delete Amazon cluster
    Note: Remember in step 5 of Part 1 that this cluster only has 1 instance and stopping the instance also stopped the entire cluster.
  3. Just like in step 5 of part 1, select the radial button to the left of instance or cluster name. Then under the 'Actions' arrow option choose to 'Start' the instance or cluster.

    Note: The cluster can't be deleted while it is stopped because the database (instance) must be online to take a final snapshot which will be your last backup of the cluster. A final snapshot is needed in the event that a developer needs the database (instance) restored in the future.
  4. Select the radial button to the left of instance or cluster name. Then under the 'Actions' arrow option choose to 'Delete' the instance or cluster. You will then be prompted to take a final snapshot of your database (instance). Then hit 'Delete'.create final aws snapshot
  5. When you hit delete, you may have to type 'delete me' as a confirmation that you want the instance or cluster deleted.

    Finally, you will be able to see the instance and/or cluster being deleted.

    Amazon AWS RDS snapshot

    Note: In this image, you can see instances and clusters being backed up prior to deletion.


If you have any questions related to this post, please put them below.

Thank you and Happy reading,

-marshé hutchinson
#learnSQLwithme
Comments

Popular posts from this blog

event id 101 task start failed - task scheduler event id 101 launch failure

Hello again. This post is related to automating SQL server tasks with Task Scheduler. In this example I was tasked with exporting SQL server agent jobs twice a month. To achieve this, I setup a task scheduler task that ran a PowerShell script that: establishes a local connection to the SQL server. cleans the file before writing to the .sql file to avoid adding on (appending) results on subsequent runs of the task scheduler task. when a connection is established, export the SQL agent jobs on the server to a .sql file on a remote server. sends a confirmation email via the SQL server database mail profile that the SQL agent jobs were exported to the specified remote server path. That was a mouthful. Now that you know my task scheduler task is calling a PowerShell script, let's get back to why it is failing.  The good news is this error is not related to the script. The error launch failure means the task could not even run. This is most likely due to a permissi...

Msg 14234, Level 16, State 1, Procedure sp_verify_job, Line 199 The specified '@owner_login_name' is invalid (valid values are returned by sp_helplogins [excluding Windows NT groups]).

Hi guys! Here's another quick and easy post. Scenario I was trying to copy a SQL agent job from one server to another by just copying the script of that SQL job. You can copy any script by right clicking a job > Script job as > create to > new query window. I pasted the job on a different server and tried to execute it and received this error: Msg 14234, Level 16, State 1, Procedure sp_verify_job, Line 199 The specified '@owner_login_name' is invalid (valid values are returned by sp_helplogins [excluding Windows NT groups]). This error message is simply saying for the variable '@owner_login_name', the user account associated with the variable is incorrect because it does not exist. Fix Simply update the variable for '@owner_login_name' to a valid user account for the current SQL instance. Now when you execute the script again to create the SQL agent job your results will be: Command(s) completed successfully. If you have any furt...

Database "" database is not in full recovery mode on each of the server instances. The full recovery model is required for a database to participate in database mirroring or in an availability group. [SQLSTATE 42000] (Error 1465).

Hi there. This post will be a quick and easy fix. If you are not already aware, availability groups are the replacement for mirroring in SSMS (SQL Server Management Studio). We like to utilize availability groups so that there is minimal data loss. Also, in the event of some natural disaster or disk failure on a server that is participating in an availability group, the data will fail-over to a backup server (replica). I was adding a database to an availability group when I received the error: Database "database_name" database is not in full recovery mode on each of the server instances. The full recovery model is required for a database to participate in database mirroring or in an availability group. [SQLSTATE 42000] (Error 1465). The error is exactly as it sounds; The database is not in the full recovery model. To fix this: I. In SSMS, right click the database to see the properties. On the Options page, change the database recovery model to Full. II....